Easy Remote SSH Into Raspberry Pi (Mac, Free!) - 2024 Guide
Ever found yourself needing to tweak a Raspberry Pi project from afar, only to be stymied by the complexities of network address translation (NAT)? Gaining seamless, secure, and free remote SSH access to your Raspberry Pi behind a NAT router from a Mac is absolutely achievable and opens up a world of possibilities for developers, hobbyists, and tech enthusiasts alike.
The challenge of remotely accessing devices tucked away behind NAT routers is a persistent headache. Traditionally, this involved cumbersome port forwarding configurations, wrestling with dynamic DNS services, or setting up virtual private networks (VPNs). These methods often require a deep understanding of networking principles and can be time-consuming and prone to errors. However, the landscape has evolved, offering more streamlined and user-friendly solutions that circumvent these traditional hurdles. The focus now is on methods that emphasize simplicity, security, and cost-effectiveness, particularly for users who need to access their Raspberry Pi from a Mac environment. This article will explore practical techniques that bypass the traditional complexities, providing a smoother pathway to remote access.
| Category | Details |
|---|---|
| Device | Raspberry Pi (any model) |
| Operating System (on Raspberry Pi) | Raspberry Pi OS (formerly Raspbian), or any Linux distribution suitable for Raspberry Pi |
| Client Device | Mac (any macOS version) |
| Network Configuration | Raspberry Pi behind a NAT router |
| Desired Outcome | Secure and free remote SSH access to the Raspberry Pi from the Mac |
| Reference Website | Raspberry Pi Official Website |
One increasingly popular method leverages specialized IoT remote access solutions. Consider SocketXP, for example. The typical approach involves installing a lightweight agent on your Raspberry Pi. Lets delve into how this works. These agents establish a persistent, outbound connection to a central server, effectively creating a secure tunnel. This eliminates the need for inbound port forwarding rules on your router. These solutions often provide a user-friendly interface for managing connections and offer enhanced security features. To set this up with SocketXP involves a few straightforward steps. You begin by downloading and installing the SocketXP IoT agent on your Raspberry Pi. Detailed instructions are usually available on the providers website. The agent will then guide you through the initial configuration, which typically involves authenticating with your SocketXP account. Once configured, the agent automatically establishes a secure tunnel, making your Raspberry Pi accessible remotely. This method is particularly attractive because it simplifies the setup process and often includes features like automatic reconnection in case of network interruptions.
- Bollyflix Movie The Ultimate Guide To Indian Cinema Bliss
- Filmy Hit Com The Ultimate Destination For Movie Buffs
Alternatively, Tailscale presents another compelling option, and the best part? Its often free for personal use. This solution creates a mesh VPN network, seamlessly connecting your devices, regardless of their location. It operates on the principle of a zero-configuration VPN, meaning you don't need to manually configure IP addresses or routing tables. Here's how to set it up. First, install the Tailscale client on both your Raspberry Pi and your Mac. On your Raspberry Pi, this typically involves running a simple command in the terminal. After installation, you'll need to authenticate each device with your Tailscale account. This usually involves opening a URL in your browser and logging in. Once authenticated, both your Raspberry Pi and your Mac will become part of your Tailscale network, or "tailnet." Now, accessing your Raspberry Pi remotely is as simple as using its Tailscale IP address. The advantage of Tailscale lies in its simplicity and security. It automatically handles the complexities of NAT traversal and firewall configuration, ensuring a secure connection between your devices. Because Tailscale creates a mesh VPN, all traffic between your devices is encrypted, adding an extra layer of security. Furthermore, it integrates seamlessly with existing networks and doesn't require any modifications to your router configuration.
If you are looking for more traditional approach you can configure your router to forward traffic on a specific port to your Raspberry Pi. Here's a detailed breakdown of how to do this: Static IP Configuration: First, assign a static IP address to your Raspberry Pi. This ensures that its IP address doesn't change, which is crucial for port forwarding to work reliably. You can usually do this through your router's DHCP settings by associating the Raspberry Pi's MAC address with a specific IP address (e.g., 192.168.1.155). Router Port Forwarding: Next, access your router's configuration page, typically by entering its IP address (e.g., 192.168.1.1) into your web browser. Navigate to the port forwarding section, usually found under advanced settings or firewall settings. Create a new port forwarding rule. Specify the external port (e.g., 50022) that you'll use to connect from your Mac. Map this external port to the internal port 22 (the standard SSH port) on your Raspberry Pi's static IP address (e.g., 192.168.1.155). Ensure that the protocol is set to TCP. Dynamic DNS (DDNS): If your internet service provider (ISP) assigns you a dynamic IP address, which changes periodically, you'll need to use a dynamic DNS (DDNS) service. A DDNS service maps a static hostname to your dynamic IP address. When your IP address changes, the DDNS service automatically updates the mapping, ensuring that you can always access your Raspberry Pi using the same hostname. Several DDNS providers offer free or paid services. After signing up for a DDNS service, you'll need to configure your router to update the DDNS record whenever your IP address changes. Security Considerations: Forwarding port 22 directly to your Raspberry Pi can expose it to security risks. To mitigate these risks, consider changing the default SSH port (22) to a higher, less common port (e.g., 50022). Also, use strong passwords or, even better, SSH keys for authentication. Additionally, you can configure your router's firewall to only allow connections from specific IP addresses or ranges.
Securing your SSH connection is paramount, regardless of the method you choose. Strong Passwords or SSH Keys: Never rely on default passwords. Always use strong, unique passwords or, preferably, SSH keys for authentication. SSH keys provide a more secure way to authenticate, as they eliminate the need to transmit passwords over the network. To generate an SSH key pair, use the `ssh-keygen` command on your Mac. Then, copy the public key to your Raspberry Pi using the `ssh-copy-id` command or by manually appending the key to the `~/.ssh/authorized_keys` file. Disabling Password Authentication: To further enhance security, disable password authentication altogether and rely solely on SSH keys. This prevents brute-force attacks that attempt to guess your password. To disable password authentication, edit the `/etc/ssh/sshd_config` file on your Raspberry Pi. Set `PasswordAuthentication no` and `ChallengeResponseAuthentication no`. Then, restart the SSH service using `sudo systemctl restart sshd`. Firewall Configuration: Configure your Raspberry Pi's firewall to only allow SSH connections from trusted IP addresses or networks. You can use the `ufw` (Uncomplicated Firewall) command-line tool to manage the firewall rules. For example, to allow SSH connections from the 192.168.1.0/24 network, use the command `sudo ufw allow from 192.168.1.0/24 to any port 22`.
- The Ultimate Movie Series Your Goto Guide For Cinematic Masterpieces
- Download Hd Movies Your Ultimate Guide To Highquality Entertainment
Another approach, a bit more involved but offering greater control, is to establish an SSH tunnel through a virtual private server (VPS). This method requires you to have access to a VPS with SSH capabilities. Here's the general idea: The Raspberry Pi connects to the VPS via SSH, creating a secure tunnel. You then connect to the VPS from your Mac and forward traffic through the tunnel to the Raspberry Pi. To set this up, you first need a VPS. Many providers offer affordable VPS plans suitable for this purpose. Once you have a VPS, you'll need to configure it to allow SSH connections. Create an SSH Key Pair: The Raspberry Pi will need to be able to connect to the VPS via SSH, so you should create an SSH key pair for this purpose. On the Raspberry Pi, run `ssh-keygen` to generate the key pair. Copy the Public Key to the VPS: Copy the public key from the Raspberry Pi to the `~/.ssh/authorized_keys` file on the VPS. This allows the Raspberry Pi to connect to the VPS without a password. Create the SSH Tunnel: On the Raspberry Pi, run the following command to create the SSH tunnel: `ssh -N -R 59000:localhost:22 user@vps_ip_address`. This command creates a reverse tunnel, forwarding traffic from port 59000 on the VPS to port 22 on the Raspberry Pi. Connect to the Raspberry Pi: On your Mac, connect to the VPS via SSH. Then, forward traffic from a local port on your Mac to port 59000 on the VPS using the following command: `ssh -L 59000:localhost:59000 user@vps_ip_address`. Finally, connect to the Raspberry Pi using SSH by connecting to localhost on port 59000 on your Mac: `ssh -p 59000 localhost`. This method provides a secure and reliable way to access your Raspberry Pi remotely, as all traffic is encrypted and passes through the VPS.
Enabling SSH on your Raspberry Pi is a prerequisite for any remote access method. Luckily, it is quite easy, here are the steps for this: Using Raspberry Pi Configuration: Open the Raspberry Pi Configuration application. Navigate to the "Interfaces" tab. Find the "SSH" option and enable it. Command-Line Interface: Alternatively, you can enable SSH from the command line using the `raspi-config` tool. Run `sudo raspi-config`. Navigate to "Interface Options" and select "SSH". Enable the SSH server. Post-Enablement Checks: After enabling SSH, it's a good idea to verify that the SSH service is running. Use the command `sudo systemctl status ssh` to check the status of the SSH service. If it's not running, start it using `sudo systemctl start ssh`. Keep in mind that in some cases, your SSH might be disabled, so it is crucial to click enable. By default, Raspberry Pi OS (formerly Raspbian) disables SSH for security reasons. You can also restrict access to localhost by setting `GatewayPorts no`that way, only users who are logged into the tunnel server could access the Raspberry Pi via SSH. This provides an additional layer of security by preventing external access to the SSH service.
Beyond basic access, remote SSH opens doors to advanced functionalities, such as remote development and IoT management. Remote Development: Use SSH to remotely edit code, compile programs, and debug applications on your Raspberry Pi. Tools like VS Code with the Remote-SSH extension make this seamless. IoT Device Management: Manage and control your IoT devices connected to your Raspberry Pi remotely via SSH. This flexibility allows you to develop complex IoT applications that can be managed and controlled remotely via SSH. Software Updates: Keep your Raspberry Pi's software up to date by running update commands remotely via SSH. System Monitoring: Monitor your Raspberry Pi's system resources (CPU usage, memory usage, disk space) remotely via SSH. File Management: Transfer files between your Mac and your Raspberry Pi securely using `scp` or `sftp` over SSH. This makes it an excellent option for remotely accessing your Raspberry Pi or any other device, eliminating the hassle of configuring VPNs, firewalls, or DNS settings. The agent that runs on the target device, such as a Raspberry Pi, maintains a persistent connection to a shared public server. Remote SSH into Raspberry Pi behind a NAT router from a Mac is one of the most effective ways to access your device securely and efficiently. Whether you're a developer, hobbyist, or tech enthusiast, understanding how to set up and maintain remote SSH access is crucial for managing your Raspberry Pi projects.
- Movierulz Telugu 2024 Your Ultimate Guide To The Latest Telugu Movie Scene
- Tamilrockers 2021 Tamil Movies Download Your Ultimate Guide To Streaming And Downloading
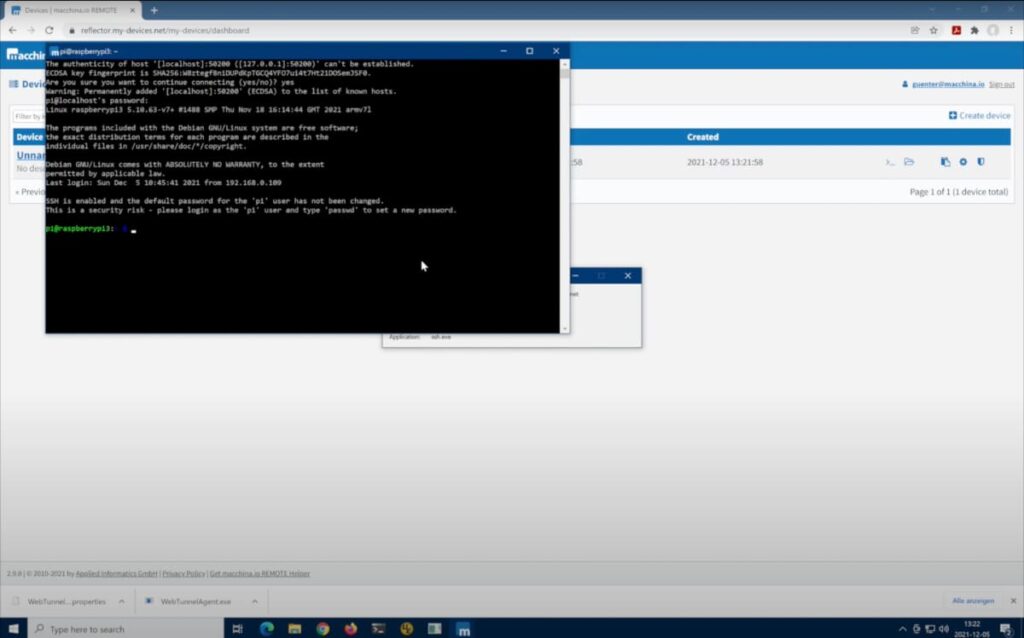
Video Getting Started with macchina.io REMOTE SSH into a remote

SSH Remote IoT Raspberry Pi Example A Comprehensive Guide To Secure

Mastering Remote Ssh On Raspberry Pi Behind A Router
