Slope For ADA Ramp: Everything You Need To Know
When it comes to building ramps that comply with the Americans with Disabilities Act (ADA), getting the slope right is absolutely crucial. A ramp that’s too steep can be dangerous, while one that’s too flat might take up way more space than necessary. So, what’s the deal with the slope for ADA ramps? Let’s break it down step by step, because understanding this isn’t just about compliance—it’s about making spaces accessible for everyone.
Creating an ADA-compliant ramp isn’t just a checklist item; it’s a commitment to inclusivity. Whether you’re a business owner, a property manager, or someone who cares about accessibility, knowing the guidelines for ADA ramps is essential. And guess what? The slope plays a massive role in whether your ramp will actually work for people who need it.
Think about it: a poorly designed ramp can make life harder for people using wheelchairs, walkers, or strollers. But when done right, ramps can open doors—literally and figuratively. In this article, we’ll dive deep into everything you need to know about slope for ADA ramps, including tips, tricks, and some handy calculations to keep you on track.
- Whatrsquos The Deal With Iboom Exploring The Ultimate Tech Phenomenon
- Unleash Your Inner Action Hero The Ultimate Guide To Action Movies Downloads
Ready to get started? Let’s go!
What Exactly Is an ADA Ramp?
An ADA ramp is a sloped surface designed to provide access to buildings or facilities for people with disabilities. It’s not just any ramp, though—it has to meet strict guidelines set by the Americans with Disabilities Act. These guidelines ensure that ramps are safe, usable, and accessible for everyone.
ADA ramps are everywhere, from public buildings to private homes. They’re not just for wheelchairs, either. People with strollers, walkers, and even those with temporary injuries can benefit from properly designed ramps. The key? Following the rules, especially when it comes to slope.
- What Is Hdrip Quality Your Ultimate Guide To Understanding Hdrip Movies
- Mkv Cinemas Your Ultimate Streaming Experience Redefined
Why Slope Matters in ADA Ramps
The slope of an ADA ramp determines how steep it is. And trust me, this matters a lot. A ramp that’s too steep can be unsafe and difficult to navigate, while a ramp that’s too flat might not fit in the available space. The goal is to strike the perfect balance.
- Slope affects usability and safety.
- It determines how much space the ramp will take up.
- A well-designed slope makes the ramp easier to use for everyone.
ADA Ramp Slope Requirements
Now, let’s talk numbers. According to the ADA, the maximum slope for a ramp is 1:12. This means that for every inch of vertical rise, the ramp must extend at least 12 inches horizontally. Simple, right? Well, kind of.
Here’s the math: if your ramp needs to rise 6 inches, the ramp itself should be at least 6 feet long. If the rise is 12 inches, the ramp should be 12 feet long. You get the idea. This 1:12 ratio is the standard for most ramps, but there are some exceptions we’ll cover later.
Exceptions to the 1:12 Rule
While the 1:12 ratio is the norm, there are situations where a steeper slope is allowed. For example:
- Runways with a rise of 6 inches or less can have a slope up to 1:10.
- For very short ramps, a slope of 1:8 may be acceptable, but only in specific cases.
However, these exceptions are rare and should only be used when absolutely necessary. Always check with a professional or consult the ADA guidelines before deviating from the standard slope.
Calculating the Right Slope for Your Ramp
Calculating the slope of your ADA ramp is easier than it sounds. All you need is a tape measure and a little bit of math. Here’s how you do it:
Measure the vertical rise (the height difference between the top and bottom of the ramp). Then, multiply that number by 12 to get the required length of the ramp. For example:
- If the rise is 4 inches, the ramp should be at least 48 inches (4 feet) long.
- If the rise is 8 inches, the ramp should be at least 96 inches (8 feet) long.
Simple, right? Just remember to add a little extra length for landings and transitions if needed.
Tools You’ll Need for Measurement
Here’s a quick list of tools you might need to calculate the slope of your ramp:
- A tape measure (long enough for the entire ramp).
- A level to ensure the ramp is even.
- A calculator (optional, but handy).
Common Mistakes to Avoid with ADA Ramp Slopes
Mistakes happen, but when it comes to ADA ramps, they can be costly. Here are some common errors to watch out for:
- Making the slope too steep, which can lead to safety issues.
- Not accounting for space constraints, resulting in a ramp that doesn’t fit.
- Ignoring the need for landings or transitions, which can make the ramp harder to use.
Remember, the goal is to create a ramp that’s both safe and functional. Take your time, do the math, and don’t be afraid to ask for help if you’re unsure.
How to Fix a Slope That’s Too Steep
If you’ve already built a ramp and realized the slope is too steep, don’t panic. There are a few solutions:
- Extend the length of the ramp to achieve the correct slope.
- Add intermediate landings to break up the slope.
- Consult a professional for advice on modifications.
Fixing a slope issue might take some effort, but it’s worth it to ensure the ramp is safe and compliant.
Landings and Transitions: The Unsung Heroes of ADA Ramps
While slope gets all the attention, landings and transitions are just as important. These are the flat areas at the top and bottom of the ramp, as well as any intermediate points. They provide a safe place for users to pause, turn, or transition onto another surface.
Here’s what you need to know:
- Landings should be at least as wide as the ramp itself.
- Intermediate landings should be at least 60 inches long.
- Transitions between the ramp and surrounding surfaces should be smooth and level.
Don’t underestimate the importance of these features. They can make a big difference in how easy and safe the ramp is to use.
Why Smooth Transitions Matter
A bumpy or uneven transition can be a major headache for ramp users. Imagine trying to roll a wheelchair over a raised edge or a dip in the surface—it’s not fun. That’s why smooth transitions are so important.
Here’s how to ensure your transitions are up to par:
- Use transition plates or ramps to smooth out any gaps.
- Make sure the surface is level and free of obstructions.
- Regularly inspect and maintain the ramp to catch issues early.
Materials That Work Best for ADA Ramps
When it comes to building an ADA ramp, the materials you choose matter. Some materials are better suited for ramps than others, especially when it comes to durability, traction, and weather resistance.
Here are a few popular options:
- Concrete: Durable and long-lasting, but can be expensive.
- Wood: Affordable and easy to work with, but requires regular maintenance.
- Aluminum: Lightweight and weather-resistant, but can be slippery if not textured.
Ultimately, the best material for your ramp will depend on your budget, location, and intended use. Just make sure it meets ADA requirements for traction and stability.
Tips for Choosing the Right Material
Here are a few tips to help you choose the right material for your ADA ramp:
- Consider the climate and weather conditions in your area.
- Think about who will be using the ramp most often.
- Factor in maintenance costs and lifespan of the material.
Doing your research upfront can save you a lot of headaches down the road.
Cost Considerations for ADA Ramps
Building an ADA ramp can be a significant investment, but it’s one that pays off in terms of accessibility and compliance. The cost will depend on several factors, including the length of the ramp, the materials used, and any additional features like handrails or landings.
Here’s a rough breakdown of costs:
- Concrete ramps: $50-$100 per linear foot.
- Wood ramps: $20-$50 per linear foot.
- Aluminum ramps: $75-$150 per linear foot.
Remember, these are just estimates. Always get multiple quotes from contractors or suppliers to ensure you’re getting a fair price.
Ways to Save Money on ADA Ramps
If you’re on a tight budget, there are a few ways to save money on your ADA ramp:
- Choose a more affordable material, like wood or aluminum.
- Design the ramp to fit the available space efficiently.
- DIY some parts of the project if you have the skills.
Just be careful not to cut corners on safety or compliance. A ramp that doesn’t meet ADA standards isn’t worth the savings.
Conclusion
So there you have it—everything you need to know about slope for ADA ramps. From understanding the 1:12 ratio to calculating the right length for your ramp, the key is to focus on safety, usability, and compliance.
Building an ADA ramp might seem like a daunting task, but with the right information and tools, it’s totally doable. Just remember to measure carefully, choose the right materials, and don’t forget about landings and transitions. Oh, and if you’re ever in doubt, don’t hesitate to consult a professional.
Now it’s your turn. Have you ever built an ADA ramp? What challenges did you face? Leave a comment below and let’s chat. And if you found this article helpful, don’t forget to share it with your friends and followers. Together, we can make the world a more accessible place!
Table of Contents
- What Exactly Is an ADA Ramp?
- ADA Ramp Slope Requirements
- Calculating the Right Slope for Your Ramp
- Common Mistakes to Avoid with ADA Ramp Slopes
- Landings and Transitions: The Unsung Heroes of ADA Ramps
- Materials That Work Best for ADA Ramps
- Cost Considerations for ADA Ramps
- Unleash Your Inner Action Hero The Ultimate Guide To Action Movies Downloads
- Cinevez Your Ultimate Guide To Streaming Movies Online
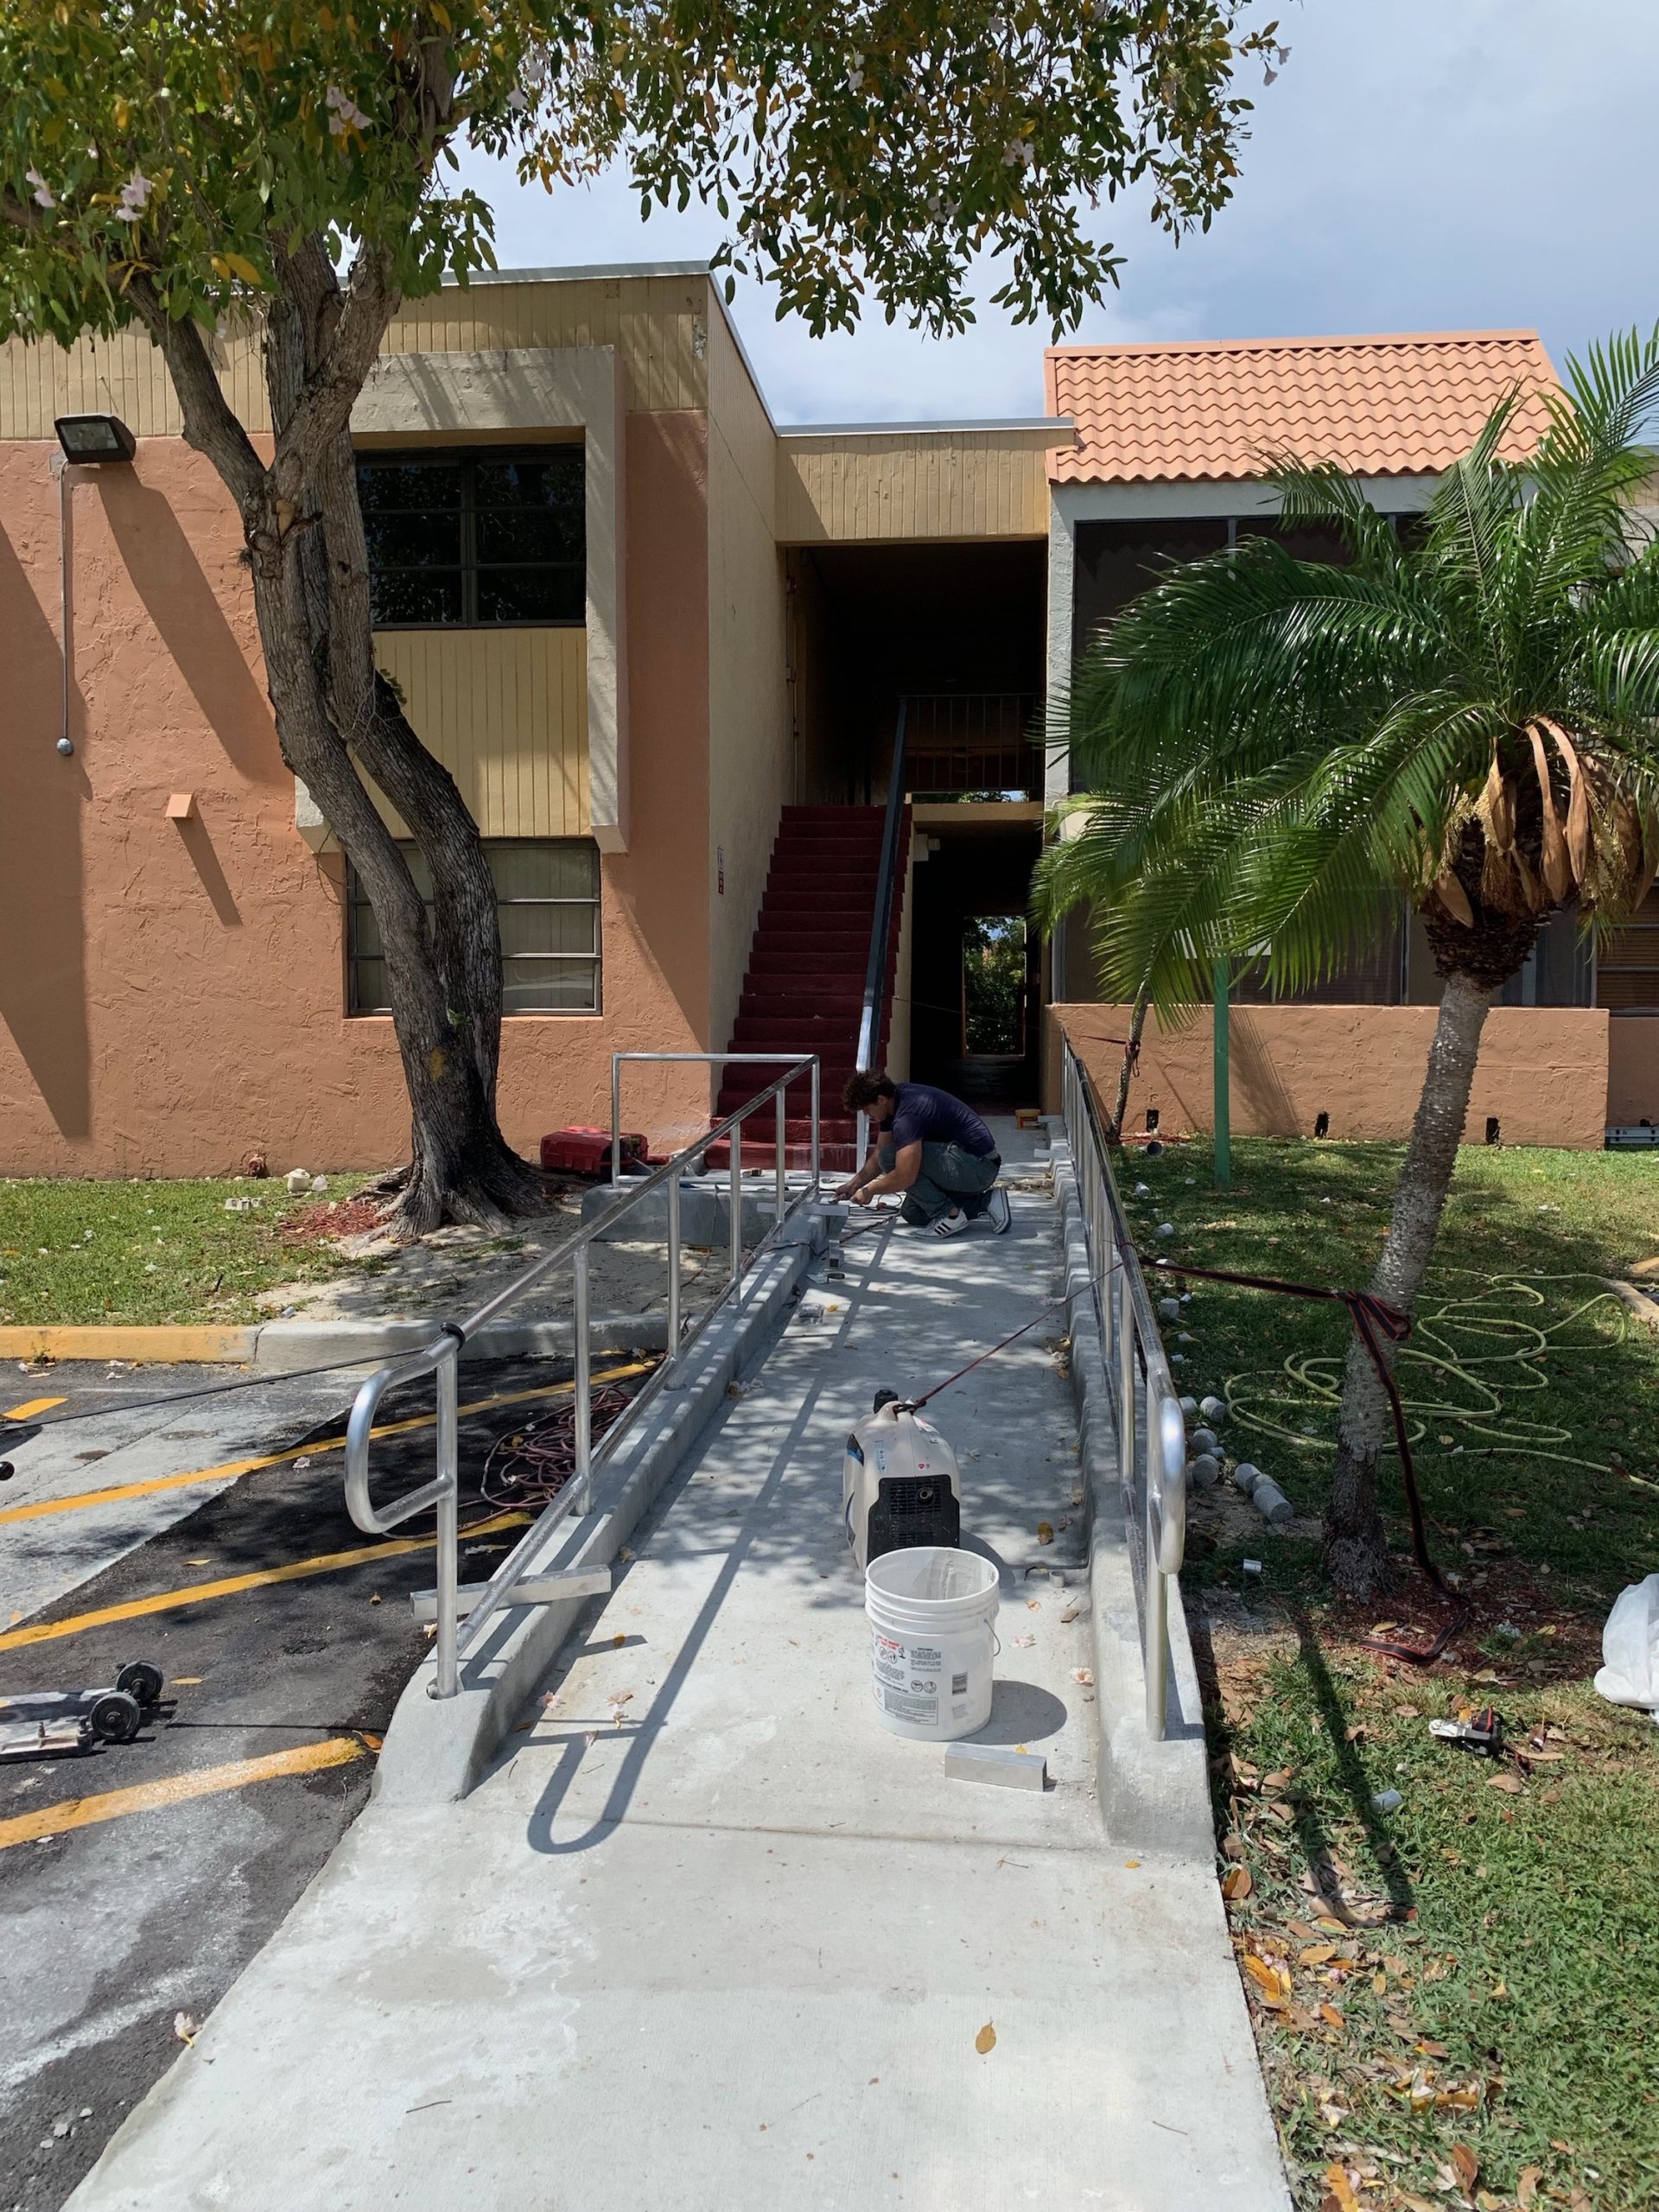
ADA Ramp Progress Installation Florida Railings

ADA Ramps iConcrete Construction

Underground Parking Ramp Slope
