Mastering Bee Picture Drawing: A Comprehensive Guide For Artists
Hey there, fellow art enthusiasts! If you've ever been captivated by the beauty of bees and wanted to bring them to life on paper, you're in the right place. Bee picture drawing is not just about creating a pretty image; it's an art form that connects us to nature and allows us to appreciate these incredible creatures. Whether you're a beginner or an experienced artist, this guide will help you hone your skills and create stunning bee illustrations. let's dive in!
Art is all about expressing yourself, and when it comes to bee picture drawing, there's so much creativity involved. Bees are fascinating creatures with intricate patterns and vibrant colors, making them a favorite subject for artists around the world. By learning the techniques and tips outlined in this article, you'll be able to create bee pictures that are both realistic and imaginative.
In this article, we'll cover everything you need to know about bee picture drawing, from understanding bee anatomy to mastering shading techniques. So grab your pencils, markers, or digital tools, and let's get started on this artistic journey together. Who knows? You might just discover a new passion for bee art!
- Comeuppance The Ultimate Guide To Understanding Its Meaning Importance And Reallife Examples
- Movies4u Hub Your Ultimate Destination For Movie Buffs
Table of Contents
- Understanding Bee Anatomy
- Essential Tools for Bee Drawing
- Basic Techniques for Drawing Bees
- Adding Color to Your Bee Drawings
- Shading and Texture
- Common Mistakes to Avoid
- Digital Art Tips for Bee Drawing
- Inspiration from Nature
- Practicing with Different Styles
- Showcasing Your Bee Art
Understanding Bee Anatomy
Before you start sketching, it's crucial to understand the anatomy of a bee. Knowing the parts of a bee will help you create more accurate and lifelike drawings. Bees have three main body sections: the head, thorax, and abdomen. Each section plays a vital role in their overall appearance and function.
Key Features of Bee Anatomy
Here’s a quick breakdown of the essential features you should focus on:
- Head: The head contains the eyes, antennae, and mouthparts. Bees have compound eyes that allow them to see ultraviolet light.
- Thorax: This is the middle section of the bee's body, where the wings and legs are attached. The thorax is muscular and powerful, enabling flight and movement.
- Abdomen: The abdomen houses the bee's internal organs, including the stinger in female bees. It’s also where the stripes and patterns are most prominent.
Studying bee anatomy will give you a solid foundation for your drawings. You can find plenty of reference images online to help you understand the details better.
- New Hindi Movie Online Your Ultimate Guide To Streaming The Latest Bollywood Hits
- Movierulz Telugu 2024 Your Ultimate Guide To The Latest Telugu Movie Scene
Essential Tools for Bee Drawing
Having the right tools can make a huge difference in your bee picture drawing journey. Whether you prefer traditional or digital art, there are several tools you should consider:
Traditional Tools
- Pencils: Start with a range of graphite pencils (2H, HB, 2B, 4B) for different shading techniques.
- Sketchbook: A high-quality sketchbook with smooth paper is perfect for practicing.
- Eraser: A kneaded eraser is great for lifting graphite without damaging the paper.
- Colored Pencils: Use these for adding vibrant colors to your bee drawings.
Digital Tools
- Drawing Tablet: A Wacom or iPad Pro is ideal for digital artists.
- Software: Programs like Adobe Illustrator or Procreate offer advanced tools for creating detailed bee illustrations.
- Brushes: Experiment with different brushes to achieve various textures and effects.
Choose the tools that work best for you and your style. Remember, practice makes perfect!
Basic Techniques for Drawing Bees
Now that you have your tools ready, let's dive into some basic techniques for drawing bees. Start with simple shapes and gradually add details to create a realistic bee picture.
Begin by sketching an oval for the thorax, followed by a smaller circle for the head and a longer oval for the abdomen. Connect these shapes with smooth lines to form the bee's body. Once you have the basic structure, add the wings, legs, and antennae.
Step-by-Step Guide
- Outline the body using light strokes.
- Draw the wings, ensuring they are translucent and delicate.
- Add the stripes on the abdomen, paying attention to their pattern and spacing.
- Include the eyes, antennae, and legs to complete the bee's features.
Take your time and refine each part of the bee. Practice makes perfect, so don't be afraid to experiment and try new things.
Adding Color to Your Bee Drawings
Color is a crucial element in bee picture drawing. Bees are known for their vibrant yellow and black stripes, but they also come in other colors like brown, orange, and even green. Understanding color theory will help you create stunning bee illustrations.
Tips for Coloring Bees
- Use a light yellow for the base color and add darker shades for the stripes.
- Blend colors smoothly to achieve a realistic effect.
- Highlight the wings with a pale blue or white to make them appear translucent.
Experiment with different color combinations to create unique bee drawings. Don't be afraid to add your own twist to the classic bee colors.
Shading and Texture
Shading and texture are what bring your bee drawings to life. By mastering these techniques, you can create depth and dimension in your artwork.
Start by identifying the light source in your drawing. This will determine where the highlights and shadows fall. Use a range of shading techniques, such as cross-hatching, stippling, and blending, to add texture to the bee's body.
Creating Realistic Textures
- Use small, circular strokes to mimic the fuzz on a bee's body.
- Apply light pressure when shading the wings to keep them delicate.
- Blend colors smoothly to create a gradient effect on the bee's stripes.
Practice these techniques regularly to improve your shading and texture skills. The more you practice, the more realistic your bee drawings will become.
Common Mistakes to Avoid
Even the most experienced artists make mistakes. Here are some common pitfalls to watch out for when drawing bees:
- Proportion Issues: Ensure the head, thorax, and abdomen are in proportion to each other.
- Overloading Colors: Avoid using too many colors, as this can make your bee look unnatural.
- Ignoring Details: Pay attention to the small details, such as the stripes and antennae, to make your bee look more realistic.
By being aware of these mistakes, you can avoid them and create better bee drawings. Practice and patience are key!
Digital Art Tips for Bee Drawing
If you're into digital art, there are several tips and tricks you can use to enhance your bee picture drawing skills. Digital tools offer a lot of flexibility and creativity, allowing you to experiment with different styles and techniques.
Maximizing Your Digital Toolkit
- Use layers to separate different parts of the bee, making it easier to edit and refine.
- Experiment with brushes to create unique textures and effects.
- Utilize the undo feature to correct mistakes without starting over.
Take advantage of the features offered by digital art programs to push your creativity to the next level. The possibilities are endless!
Inspiration from Nature
Nature is the best teacher when it comes to bee picture drawing. Spend some time observing bees in their natural habitat to gain inspiration for your artwork. Notice how they move, how their wings catch the light, and how their stripes create a mesmerizing pattern.
Take photos or sketch bees in the wild to use as reference material. This will help you create more authentic and detailed drawings. Remember, the more you study nature, the better your art will become.
Practicing with Different Styles
One of the most exciting aspects of bee picture drawing is the ability to explore different styles. From realistic to abstract, there's no limit to how you can express yourself through bee art.
Styles to Try
- Realistic: Focus on creating lifelike bee drawings with attention to detail.
- Cartoonish: Use exaggerated features to create fun and playful bee illustrations.
- Abstract: Experiment with colors and shapes to create unique and imaginative bee art.
Don't be afraid to step out of your comfort zone and try new styles. You might discover a new favorite way to draw bees!
Showcasing Your Bee Art
Once you've created your bee drawings, it's time to share them with the world. There are many platforms where you can showcase your art and connect with other artists.
Ways to Share Your Art
- Post your artwork on social media platforms like Instagram and Pinterest.
- Join online art communities to get feedback and inspiration from fellow artists.
- Consider selling your artwork on platforms like Etsy or Redbubble.
Sharing your bee art not only allows you to gain recognition but also inspires others to pursue their artistic passions. Who knows? You might just start a bee art revolution!
Conclusion
So there you have it, folks! Bee picture drawing is a fascinating and rewarding art form that allows you to connect with nature and express your creativity. By understanding bee anatomy, mastering basic techniques, and experimenting with different styles, you can create stunning bee illustrations that captivate and inspire.
Remember to practice regularly, study nature, and never be afraid to try new things. Art is all about self-expression, and bee picture drawing is just one way to do that. So grab your tools, unleash your creativity, and let your bee art take flight!
Now it's your turn. Share your bee drawings in the comments below or tag us on social media. We'd love to see what you create. Happy drawing, and keep buzzing with creativity!
- Jaime Fanfix Leaks The Ultimate Guide To Understanding And Staying Safe
- Bollyflix Your Ultimate Guide To Bollywood Movies Online
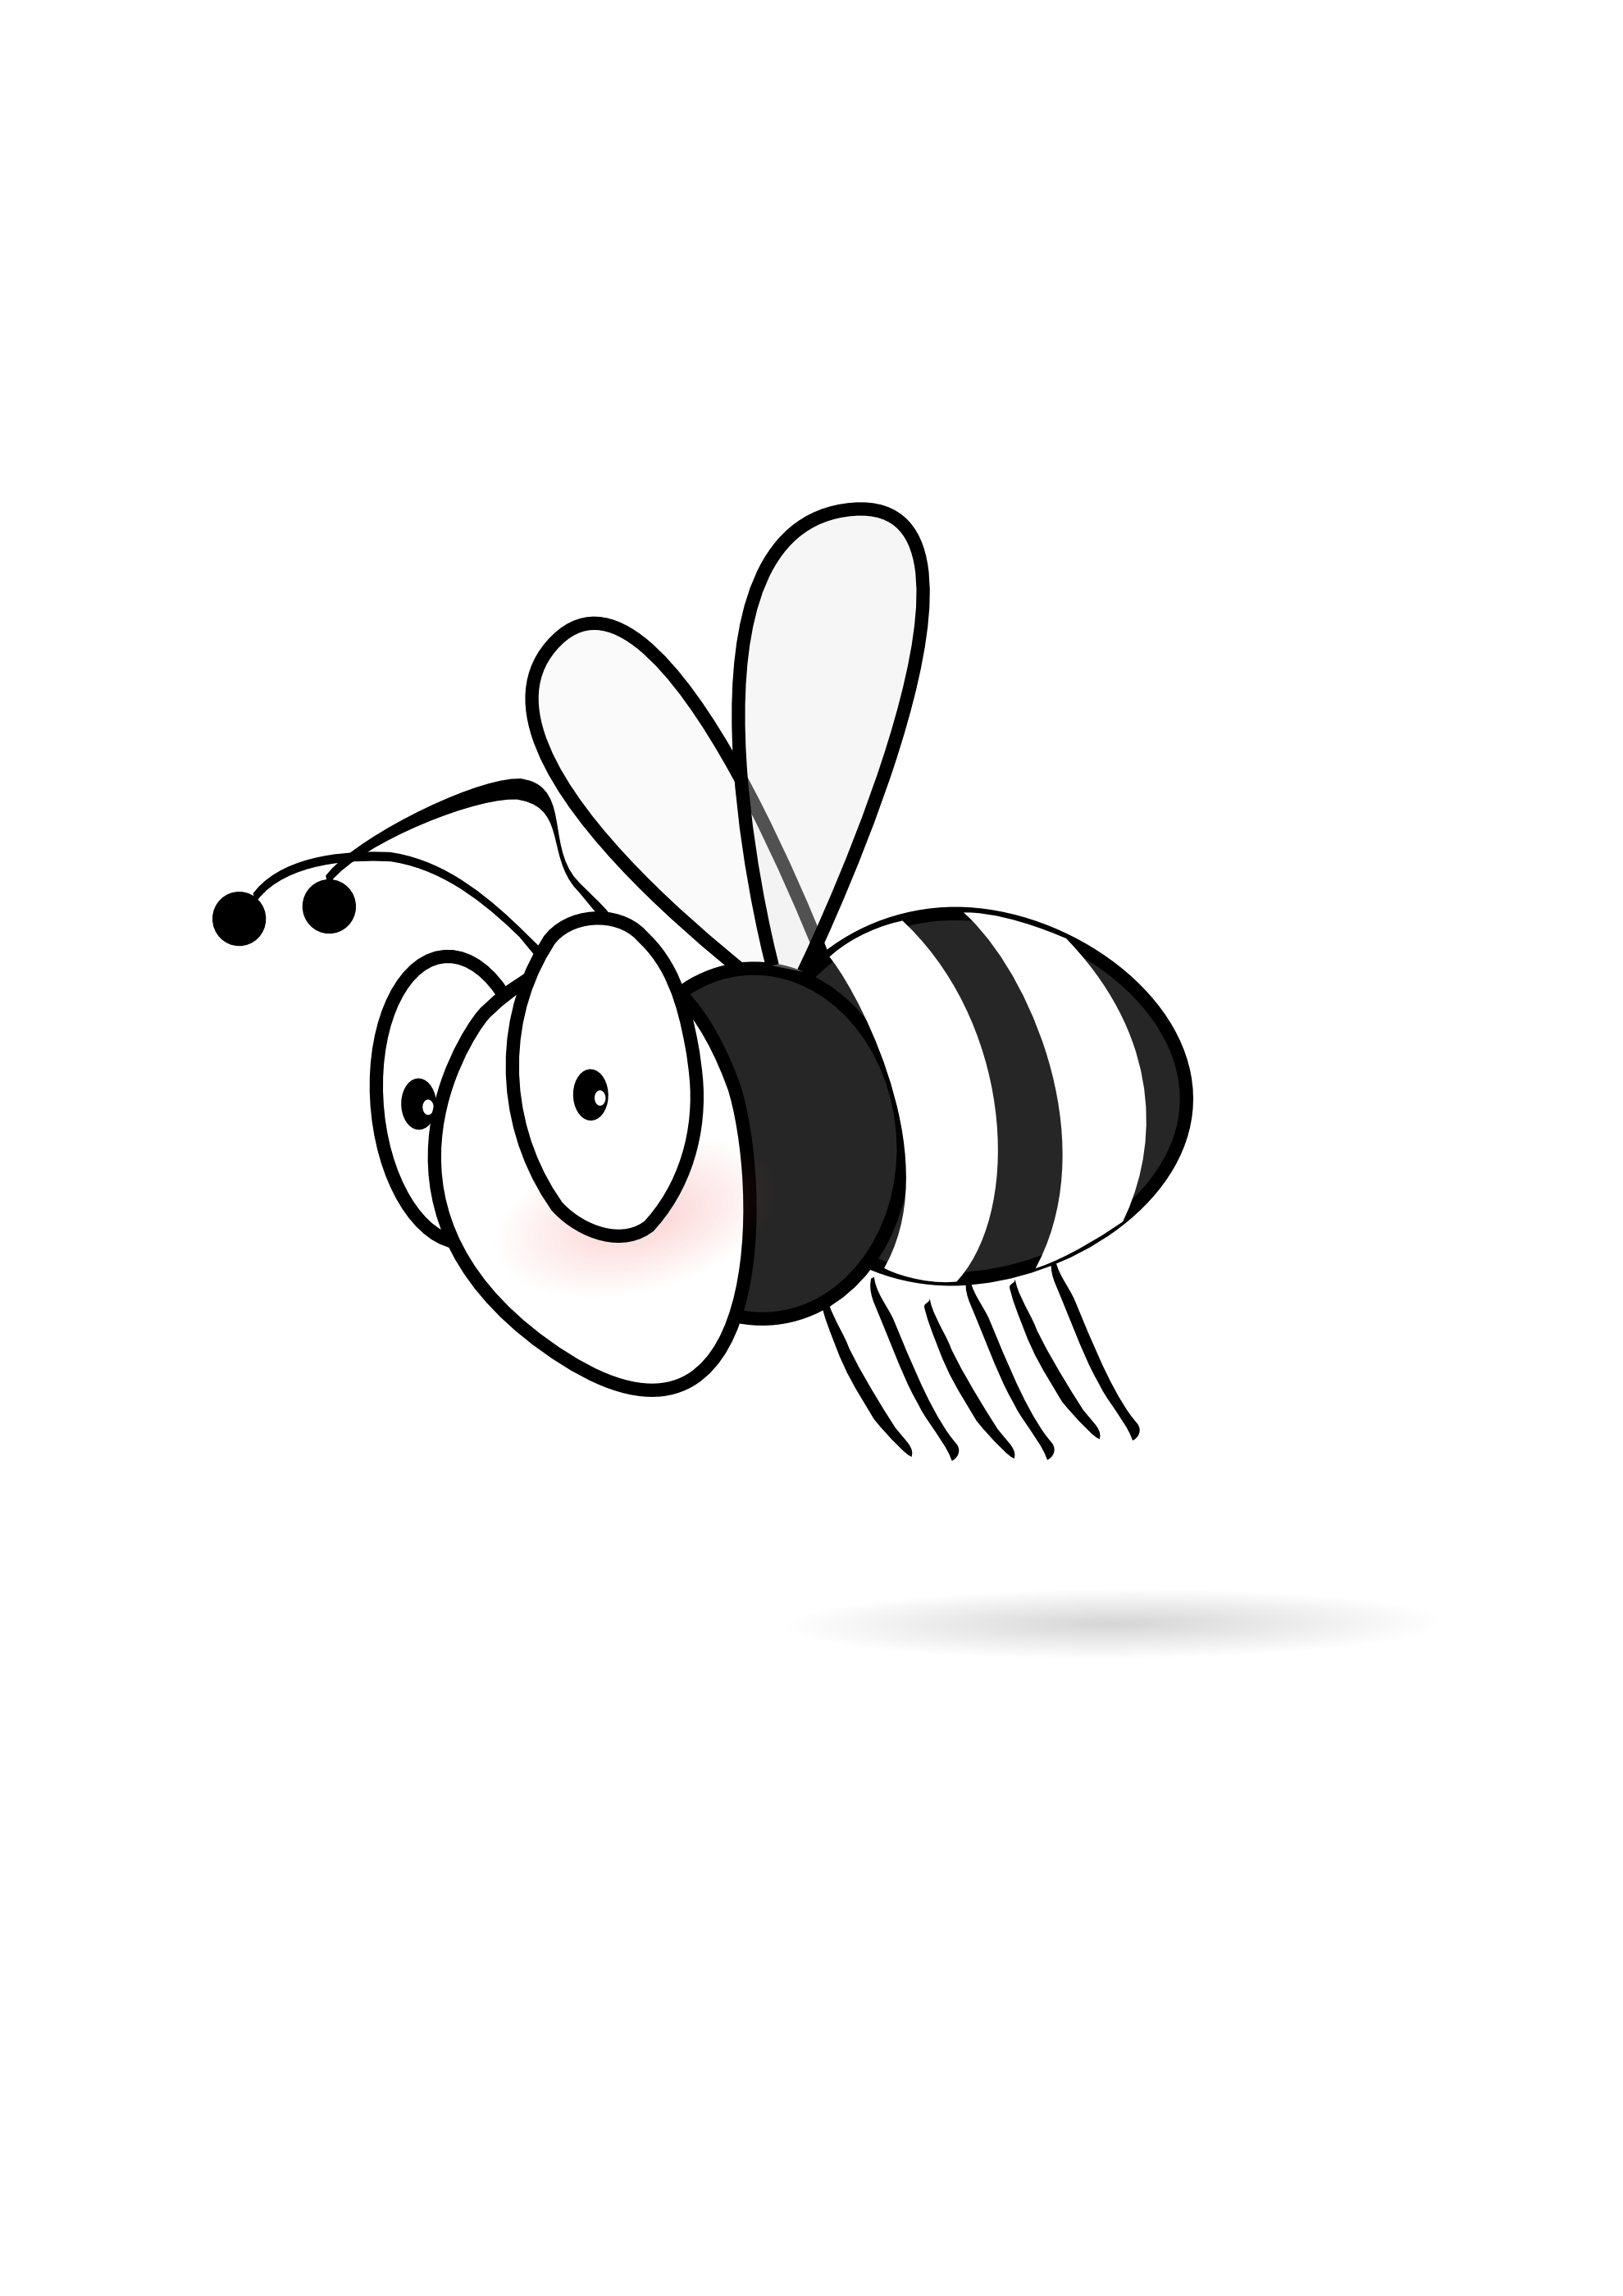
Bee Line Drawing ClipArt Best
Bee Line Drawing ClipArt Best
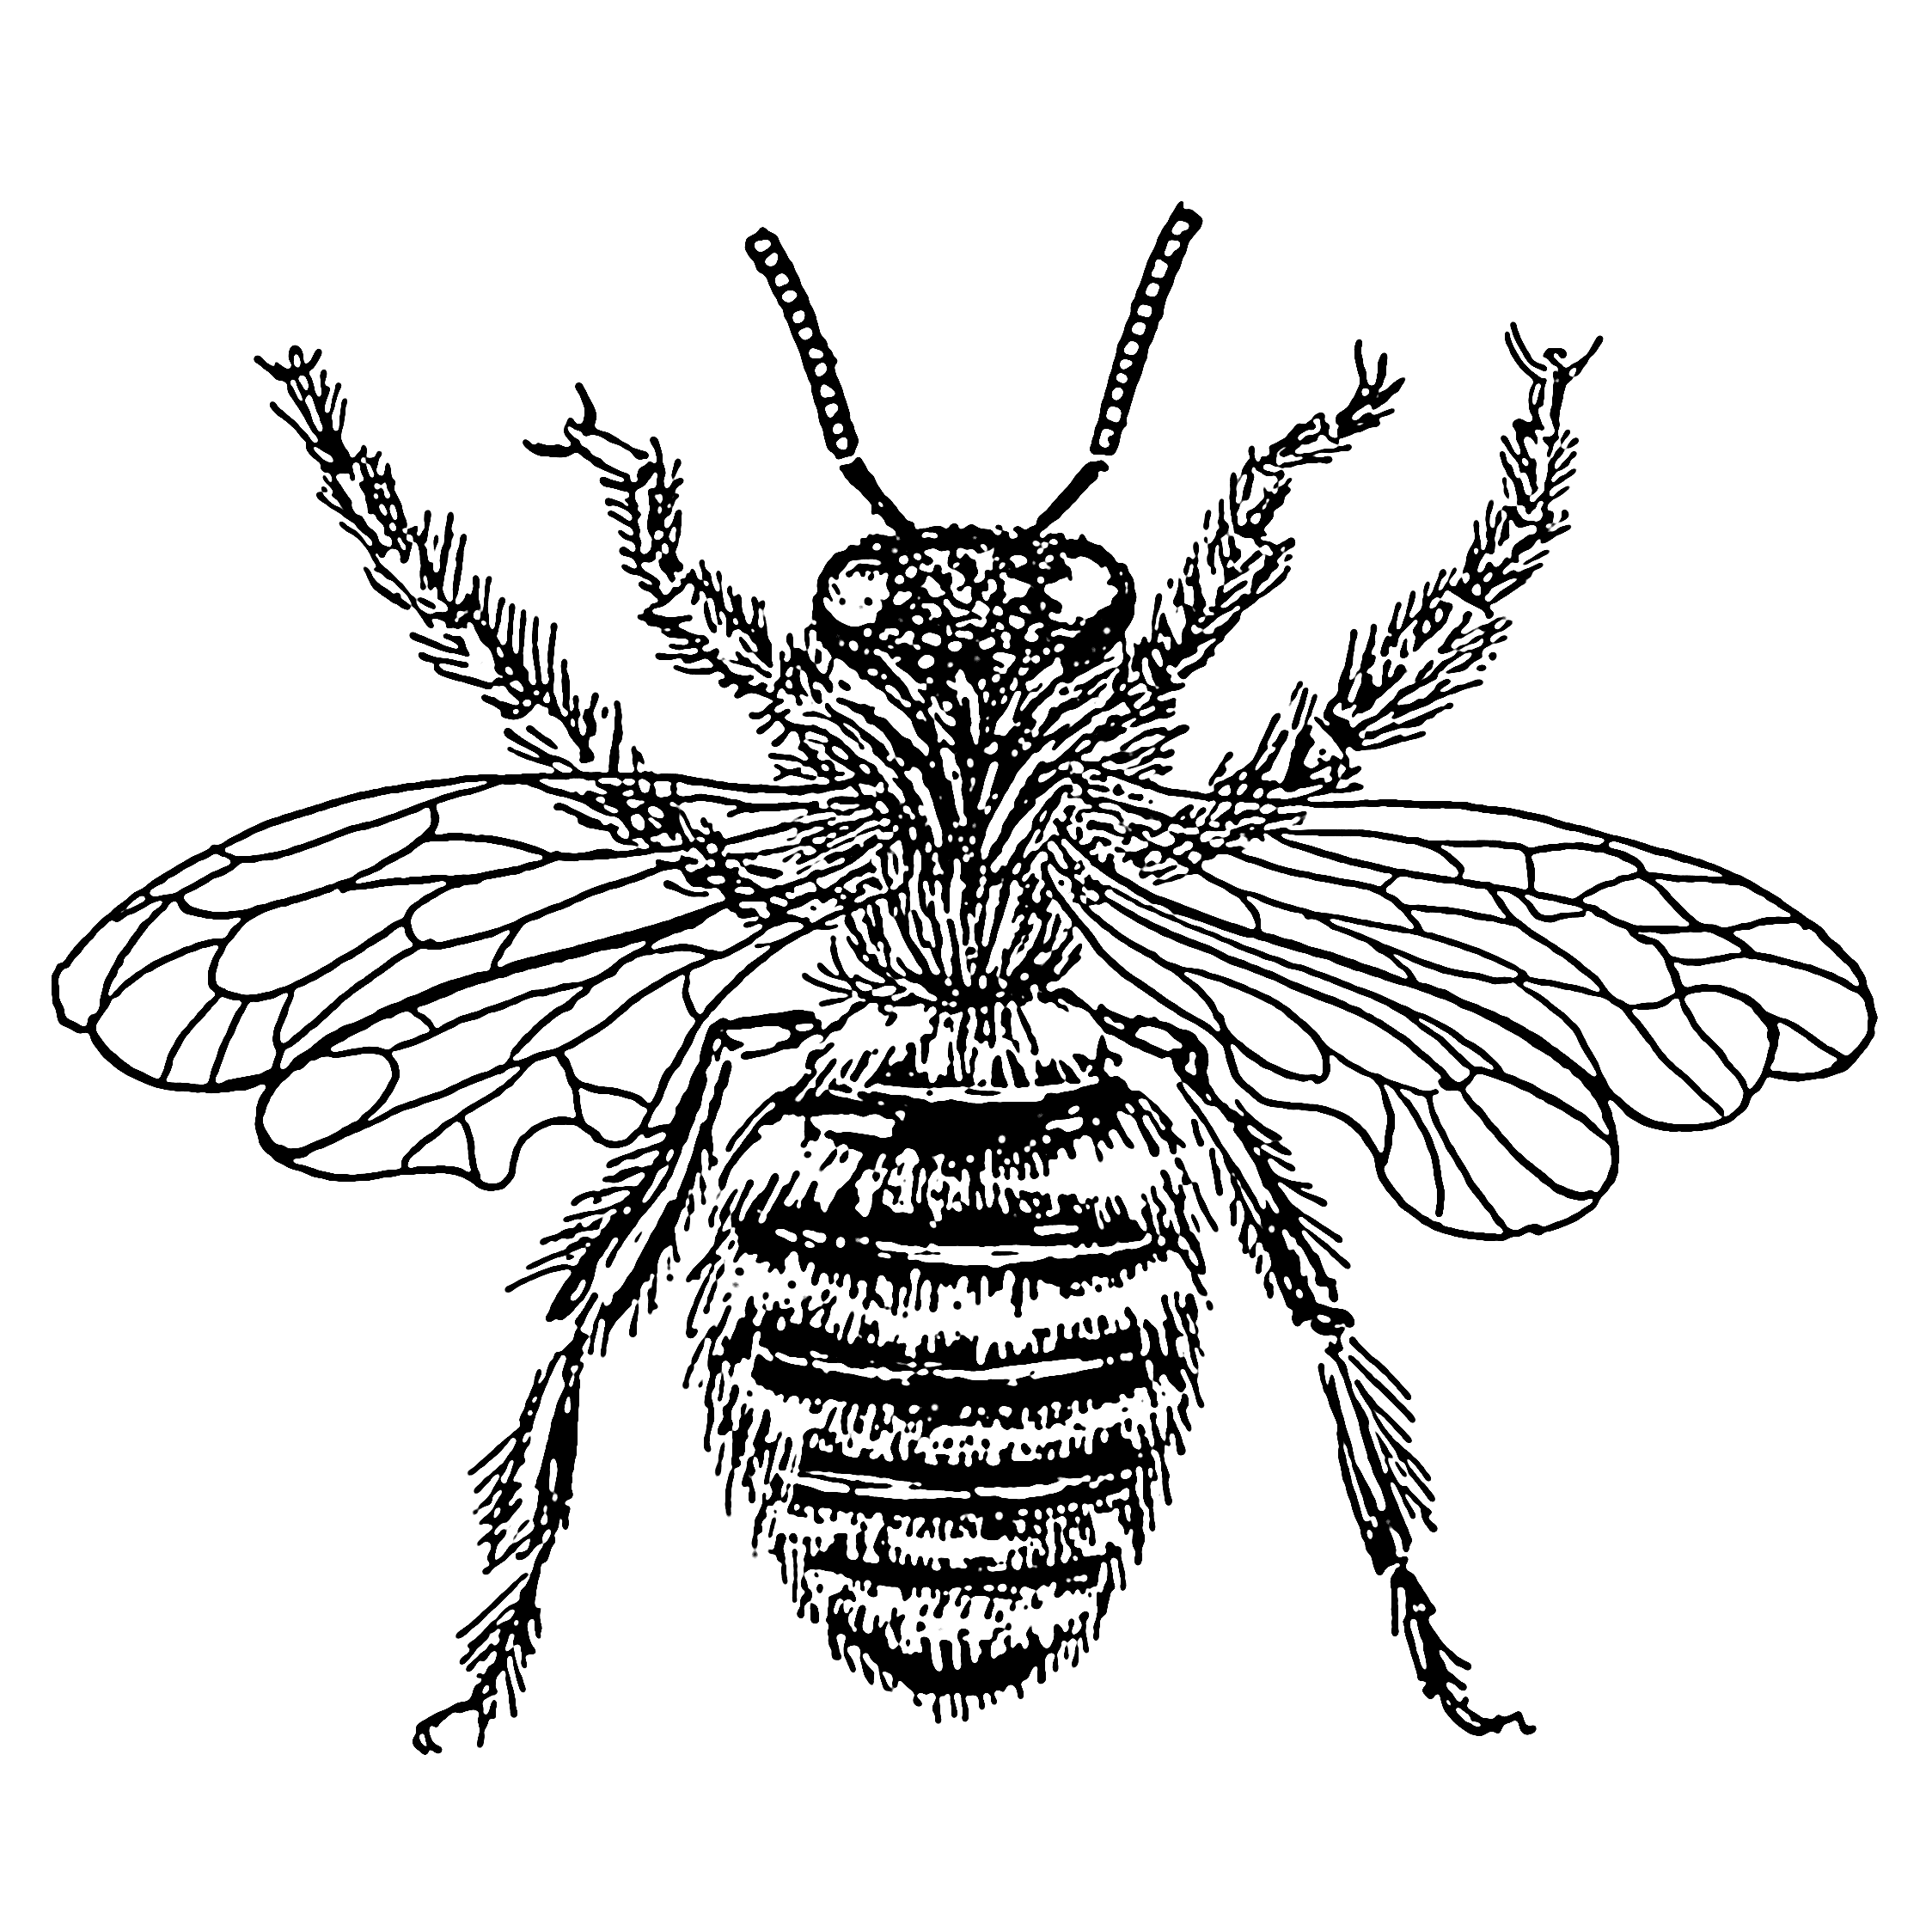
Bee Drawing Wallpapers Top Free Bee Drawing Backgrounds WallpaperAccess
